

Filters
Shopping Options
Skirting Boards
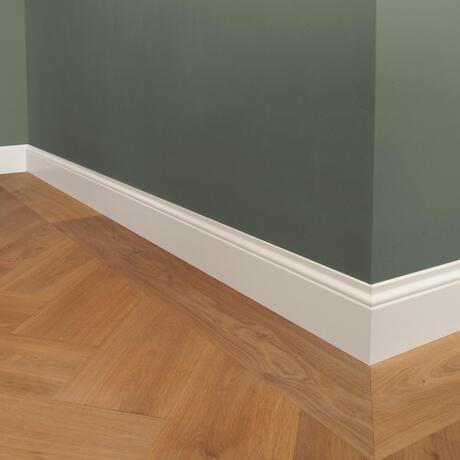
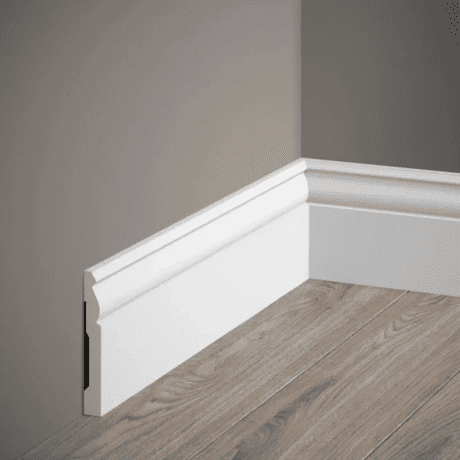
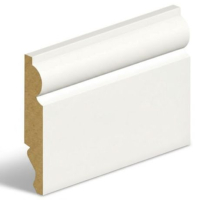
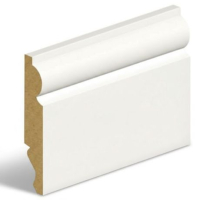
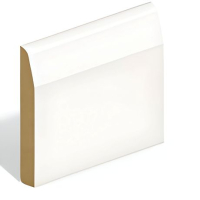
 Primed Waterproof Polymer Skirting Board 12mm x 94mm x 2000mmFrom £0.00 £14.80 From
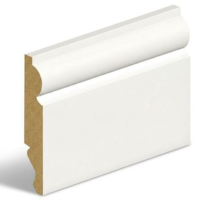
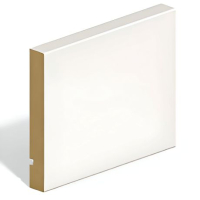
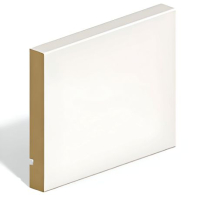
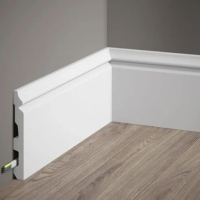 Primed Waterproof Polymer Skirting Board 18mm x 137mm x 2000mmFrom £0.00 £25.60 From
Choosing Skirting Boards for Different Rooms
Skirting boards finish the junction between internal walls and flooring, protect the lower wall and conceal the perimeter gap left around many flooring systems. Choose the material, height and depth according to the room conditions, required wall coverage and available space around doorways or fitted furniture. Curved, square-edge and grooved skirting board profiles provide different levels of decorative detail, allowing the trim to suit both traditional interiors and projects using modern skirting boards.
MDF Skirting Boards or Polymer Skirting Boards: Which Material Suits the Job?
MDF skirting boards are supplied primed in long lengths and include reversible profile options, helping reduce joints across wider wall runs while providing a choice of visible finishes. Their moisture-resistant MDF construction is intended for internal applications, but the material should not be treated as waterproof.
Polymer Skirting Boards are supplied in shorter lengths and are specified by the supplier as waterproof and UV resistant. They are therefore relevant where moisture exposure or strong natural light is an important consideration.
Choose MDF where longer runs and reversible machined profiles are priorities. Select polymer where verified resistance to water and sunlight is more important than minimising the number of joints.
Preparing Primed Skirting Boards for Painting
MDF primed skirting boards have a factory-applied base coat, reducing the preparation required before the decorative finish is applied. Cut ends, filled fixing holes and repaired joints still require separate preparation because these areas do not have the same factory-coated surface as the visible face.
When painting skirting boards, remove dust and fitting residue before applying a compatible finish. Exposed MDF edges may require spot priming, while primed polymer profiles should be finished with a suitable water-based paint in accordance with the supplier’s guidance.
For longer painted runs and reversible profile choices, explore the available MDF skirting boards.
Cutting Corners and Planning Board Joints
Measure every wall separately, deduct door openings and include additional material for corners, joints and cutting waste. Board length affects how many visible joints are required, so plan the layout before making the first cut.
- Confirm the profile – Check which face will remain visible before cutting reversible boards.
- Plan long runs – Position joints away from corners and prominent wall sections where possible.
- Check angles – Measure each corner instead of assuming it is exactly square.
- Allow for waste – Include material for mitres, damaged ends and correction cuts.
- Dry-check pieces – Confirm the fit and profile alignment before permanent fixing.
MDF profiles can be worked with standard carpentry tools, while polymer mouldings should be cut using methods and accessories recommended by their supplier. Keep each length fully supported during preparation to help maintain accurate cuts.
Fixing Skirting Boards to Different Wall Surfaces
The fixing method must suit both the skirting material and the condition of the background. MDF profiles can be installed using adhesive or nails, while polymer profiles require an adhesive confirmed as compatible with decorative polymer mouldings and the wall substrate.
- Masonry walls – Remove dust, loose plaster and unstable coatings before adhesive fixing.
- Plasterboard walls – Use suitable fixing points where additional mechanical restraint is required.
- Timber backgrounds – Nails or pins may be used where sound timber is available.
- Uneven surfaces – Correct prominent high spots before fitting rather than relying on excessive adhesive.
- Door junctions – Check the skirting thickness against the adjoining architrave before installation.
Where skirting terminates beside internal doorways, compare its depth and profile with the available MDF Architrave to create a deliberate junction between the two mouldings.
Allowing for Expansion Gaps, Uneven Walls and Floor Movement
The selected skirting must provide enough height and depth to cover the flooring perimeter gap without relying on excessive filler. Confirm the required expansion allowance from the flooring manufacturer before installation, as the skirting should conceal the gap rather than prevent the floor from moving as intended.
Uneven walls can leave visible gaps behind the top edge or pull the moulding out of line. Check the background before fitting and correct loose plaster, raised areas or unstable finishes that could weaken the fixing.
Measure from the finished floor level, particularly where new flooring changes the height of the room perimeter. This helps ensure continuous coverage beneath door trim, around corners and along adjoining walls.
FAQs
How do you remove skirting boards?
Cut through the paint or caulk line along the top edge before easing the skirting away from the wall. Work gradually with a wide scraper and pry bar, using a timber offcut to protect the plaster. Check for concealed pipes, cables and reused fixings before applying additional force.
How do you fit skirting boards?
Measure and cut each section to suit the wall length, corners and doorway positions. Test the pieces before fixing, then secure them with adhesive, suitable mechanical fixings or both. Confirm that the boards sit level and meet the adjoining trim correctly before the adhesive cures.
How do you paint skirting boards?
Clean the surface, fill damage and lightly sand repaired or glossy areas before painting. Apply a suitable primer where bare material is exposed, followed by compatible trim paint in even coats. Allow the stated drying time between coats and protect the surrounding floor and wall finishes.
How do you clean skirting boards?
Remove loose dust with a soft brush, vacuum attachment or dry microfibre cloth. Wipe remaining marks with a damp cloth and a mild cleaner suitable for the painted or factory-finished surface. Avoid soaking MDF edges or using abrasive products that could damage the coating.
How do you replace skirting boards?
Remove the existing boards carefully, clean the wall base and repair loose or damaged plaster before measuring replacements. Cut and dry-fit the new sections around corners, doorways and fixed furniture before securing them. Check that the replacement height and thickness cover previous marks and meet the architrave correctly.
How do you attach skirting boards without nails?
Skirting boards can be fixed without nails using a compatible grab adhesive applied to a clean and stable wall. Press each board into position and use temporary supports or tape where required until the adhesive has cured. Adhesive alone may not hold reliably on dusty, loose or severely uneven surfaces.
Do you paint skirting boards before walls?
Walls are normally painted before the final coats are applied to skirting boards. This allows wall paint splashes to be covered when the trim is finished and gives a sharper line at the junction. Priming or applying an initial coat to loose skirting before fitting can still reduce preparation work on site.