

Filters
Shopping Options
Tiling Tools
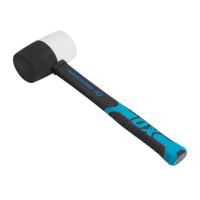
Shop tiling tools at MGN Builders Merchants for laying tiles, grouting joints and finishing cut edges. Choose from notched tiling trowels, grout and sponge floats, tile levelling pliers, diamond hand polishing pads, manual grout removers and rubber mallets. Follow the adhesive manufacturer’s guidance when choosing a trowel notch size, and use a grout float to press grout into the joints.

Choosing a Tiling Trowel
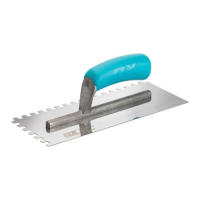
A notched trowel spreads tile adhesive into ridges that compress as you bed each tile into place. The notch size you need depends on the tile’s dimensions and backing, the surface underneath and the adhesive manufacturer’s instructions.
Before choosing, check:
- The recommended adhesive bed thickness and coverage.
- Whether the tile backs need an additional coat of adhesive, known as back buttering.
- The requirements for the location, particularly floors and frequently wet areas where solid bedding is needed.
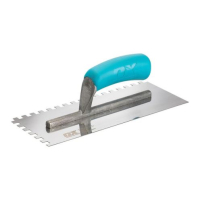
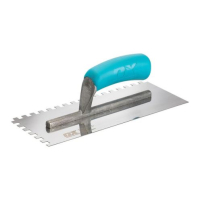
The OX Trade 8mm notched tiling trowel sits alongside 6mm and 10mm options in the range. Match your choice to the guidance for your tile adhesive, and remember that notch size is not the finished bed thickness. Occasionally lift a freshly laid tile to check adhesive contact underneath.
Keeping Tile Edges and Joints Aligned
Lay out a row of tiles before mixing adhesive to see where the cuts will fall. Check corners, doorways and fittings early, as a small adjustment to the starting position can help you avoid awkward narrow strips.
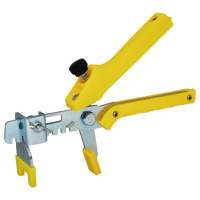
Once laying begins, spacers help maintain the intended joint width. A compatible clip-and-wedge levelling system helps keep adjacent tile edges aligned while the adhesive sets, with tile levelling pliers used to tighten the wedges.
Check tile thickness and system compatibility when choosing clips, wedges and spacers from the tiling accessories range. The surface still needs to be suitably flat before you start; tightening the clips cannot make up for an uneven background. Work in small sections so you can bed and adjust the tiles before the adhesive forms a skin.
Grout Floats for Filling, Sponge Floats for Cleaning
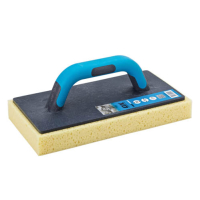
Choose grouting tools for each stage of the job. A grout float presses grout into the joints and removes the bulk of the excess, while a sponge float helps wash residue from the tile faces once the grout is ready for cleaning.
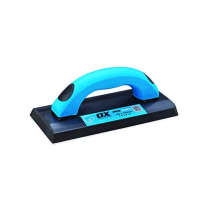
The OX Pro soft grip grout float 100mm x 240mm has a gum rubber working face for applying grout. Check compatibility if you are using a specialist grout formulation.
When working on the joints:
- Allow the adhesive to set for the specified time before grouting.
- Fill and compact the joints fully, removing excess grout as you go.
- Follow the grout’s washing instructions, using a well-wrung sponge or sponge float and changing the rinse water regularly.
Too much water during cleaning can affect cement-based grout, so keep the sponge damp rather than soaking wet.
Smoothing Cut Edges and Removing Old Grout
Cut edges often need attention before a tile is fitted. Diamond hand polishing pads let you smooth ceramic and porcelain edges by hand, which is useful around exposed cuts and detailed work.
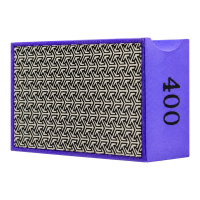
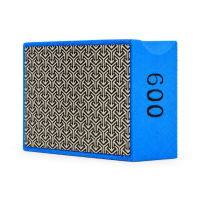
An OX Pro 400 grit diamond hand polishing pad can be used wet or dry, while the 600 grit option provides a finer abrasive for further finishing. Try the pad on an offcut first to check the result before working on a visible edge.
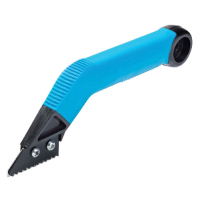
If you are refreshing existing tiling, a manual grout removal tool helps clear hardened grout from the joints before regrouting. Choose a blade that fits within the joint and work carefully to avoid chipping the neighbouring tile edges. This combination of tiling tools covers finishing work on new installations as well as smaller repairs.
FAQs
What tools do I need for tiling?
For most wall and floor jobs, you’ll need measuring and marking tools, a suitable tile cutter, a notched trowel, spacers, a grout float and a sponge. Add tile levelling pliers if you’re using a compatible clip-and-wedge system, and diamond hand polishing pads where cut edges need smoothing. Check the tile and adhesive instructions for any additional equipment required.
What size notched trowel do I need for 600 x 600mm floor tiles?
The correct notch size depends on the tile backing, background flatness and adhesive specification, as well as the tile dimensions. Follow the adhesive manufacturer’s trowel recommendations to achieve a solid bed, applying adhesive to the tile backs where required. Lift a freshly bedded tile occasionally to check for full adhesive contact underneath.
Can I grout tiles without a float?
A grout float helps you press grout firmly into the joints and remove excess material from the tile faces. A cleaning sponge is used afterwards and does not provide the same control when filling and compacting the joints. Use the application tool recommended by the grout manufacturer, particularly for epoxy or other specialist formulations.
Do you remove tile spacers before grouting?
Yes, take out reusable tile spacers before grouting, following the adhesive and spacer instructions so you do not disturb the tiles. Clear excess adhesive from the joints to leave sufficient depth for the grout. Grouting over ordinary removable spacers can leave thin, weak areas above them that are more likely to crack.
How long should I leave tiles before grouting?
Check the adhesive’s stated grouting time: some rapid-setting products allow grouting within a few hours, while other adhesives need 24–48 hours or longer. Lower temperatures and thicker adhesive beds can extend the setting time. Follow the conditions on the packaging or technical data sheet rather than judging readiness by how dry the exposed adhesive looks.
How do I clean tiles after grouting?
When the grout is ready for washing, wipe diagonally across the joints with a well-wrung sponge, rinsing it frequently in clean water. Buff away light haze with a clean cloth once the grout has set sufficiently, following the product’s cleaning instructions. For stubborn residue, test a cleaner approved for the tile and grout first, avoiding acidic cleaners on acid-sensitive stone such as marble or limestone.
What is the best tool for removing old tile grout?
For a few damaged joints or a small regrouting job, a manual grout removal tool with a tungsten carbide blade is a practical choice. Select a blade that fits within the joint and work carefully to avoid scraping or chipping the tile edges. Remove the old grout to the depth specified for the replacement product, then clear out dust and loose material before refilling.